
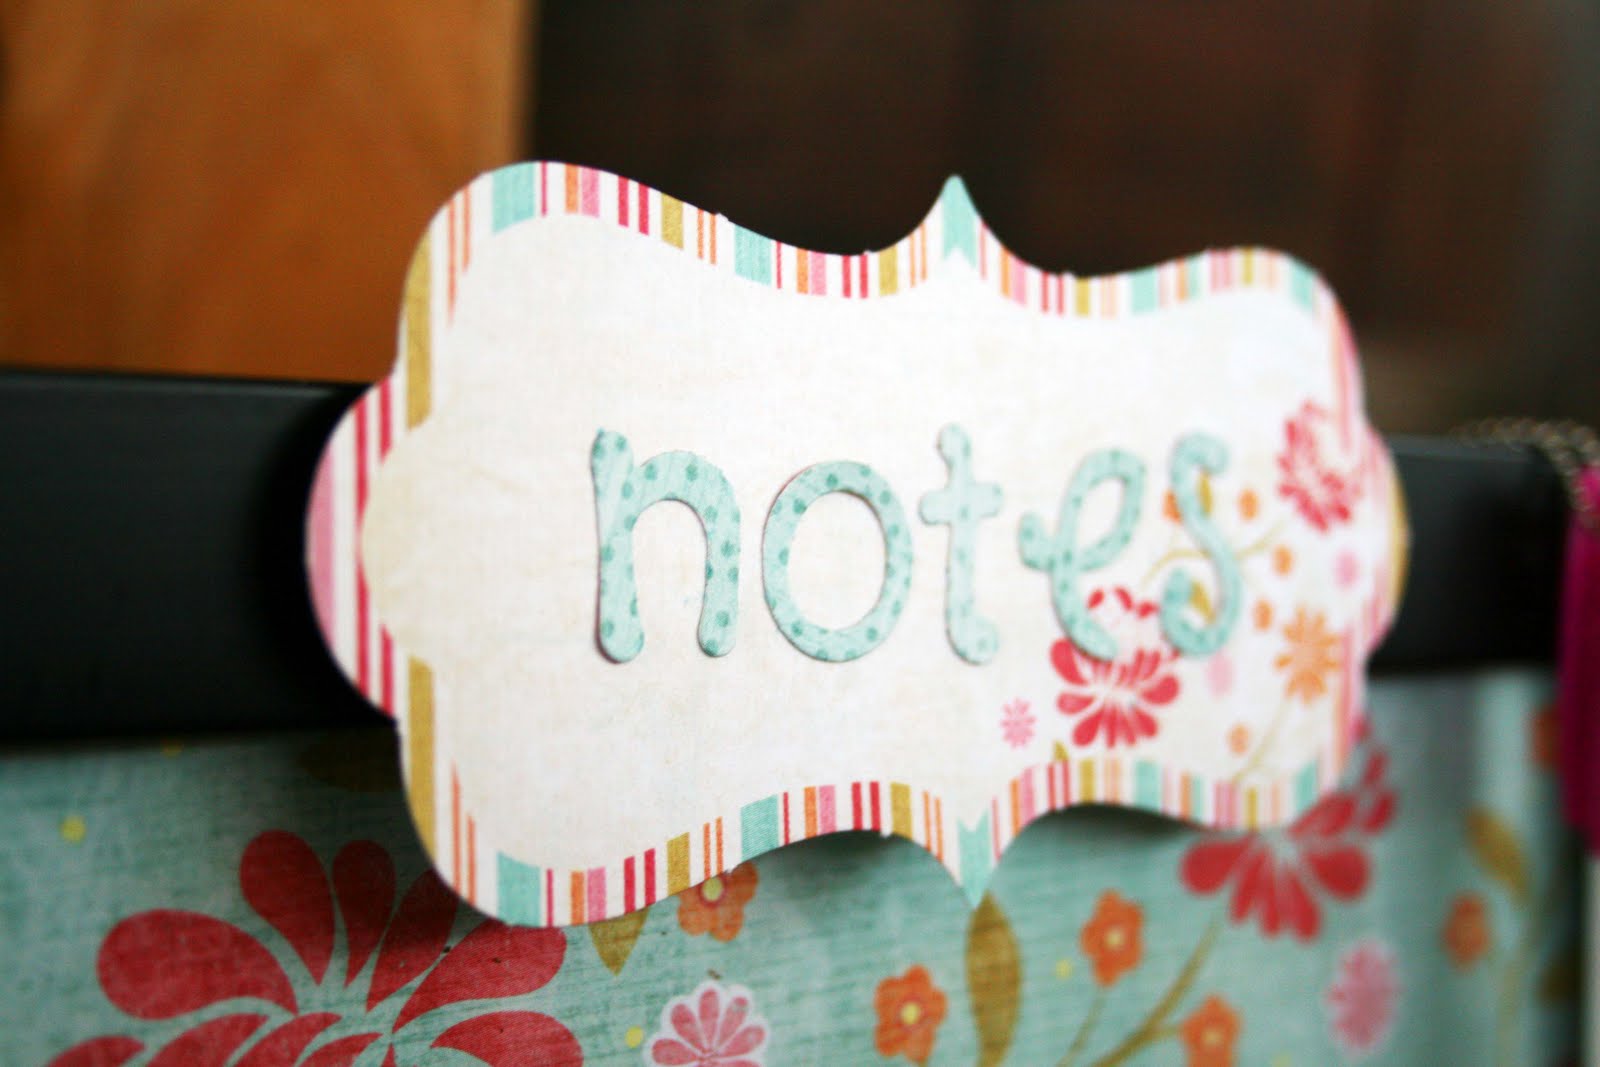
I used double sided scrapbook paper so you can switch out the paper whenever you're in the mood for a fresh look. Simply keep the other papers in the frame behind the front paper and you can do a switch-a-roo in seconds! I bought a scrap pack that came with the tag and used my Sizzix to cut the letters "n-o-t-e-s" to embellish.
I have several variations, including interchangeable "embellishments" so stay tuned for more.
Materials
Picture Frame - I used an 8 1/2 x 11
Scrapbook Paper
Embellishments
Dry Erase Marker
Picture Frame - I used an 8 1/2 x 11
Scrapbook Paper
Embellishments
Dry Erase Marker
 DIY Marker Board w/ Interchangeable Papers
 Make sure your other papers still coordinate with your embellishment!
How did you attatch the dry erase marker?
ReplyDeleteHow did you attatch the dry erase marker?
ReplyDeleteI was pinning away for such type of blogs, thanks for posting this for us. ReMARKable whiteboard wall
ReplyDelete